Setting Up the Status Field for the Sales Heat Map
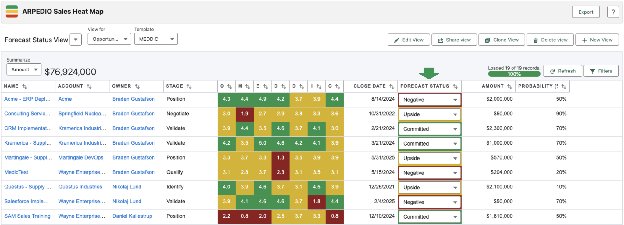
The Status Field lets you track and update forecast status, account retention status, or any similar indicator directly within the Sales Heat Map, without leaving the view.
Before You Begin
The Status Field is configured inside a Sales Template. You will need to create a new template version to add or modify it.
Creating the Status Field
- Open the App Launcher and search for Sales Templates, then select Planning Templates.
- Select the object and template you want to add a Status Field to.
- Click Create a New Version to open the template editor.
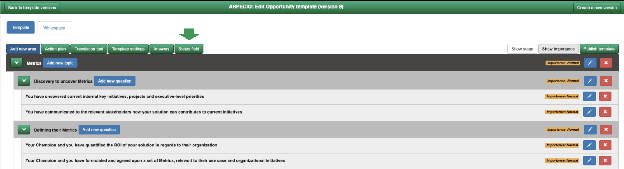
- Click the Status Field button in the menu bar.
Configuring the Status Field
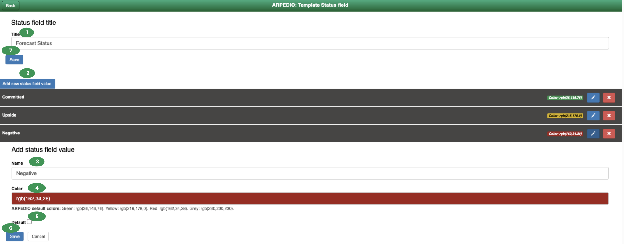
- Enter a name for the Status Field.
- Click to add a new Status Field value.
- Enter a name for the value, for example Committed or Upside.
- Assign a color to the value.
- Mark at least one value as the default.
- Click Save to save the individual Status Field value.
- Click Save to save the Status Field configuration.
- Click back to return to the template.
Publishing the Template
Important: The Status Field will not be available in the Sales Heat Map until the template version has been published. Once you have finished configuring the Status Field, publish the template before attempting to add it to a Heat Map view.
Was this article helpful?