Relationship Matrix
Using the ARPEDIO Matrix Tool on a new Account or Opportunity
When you create a new Account or Opportunity record, the first step is to set up your Org Chart and the Relationship planning tool. The following example will use the Account record to visualize how to get started.
ABC Corp is set up as a new Account with identified customer stakeholders listed on the right-hand side of the Org Chart.
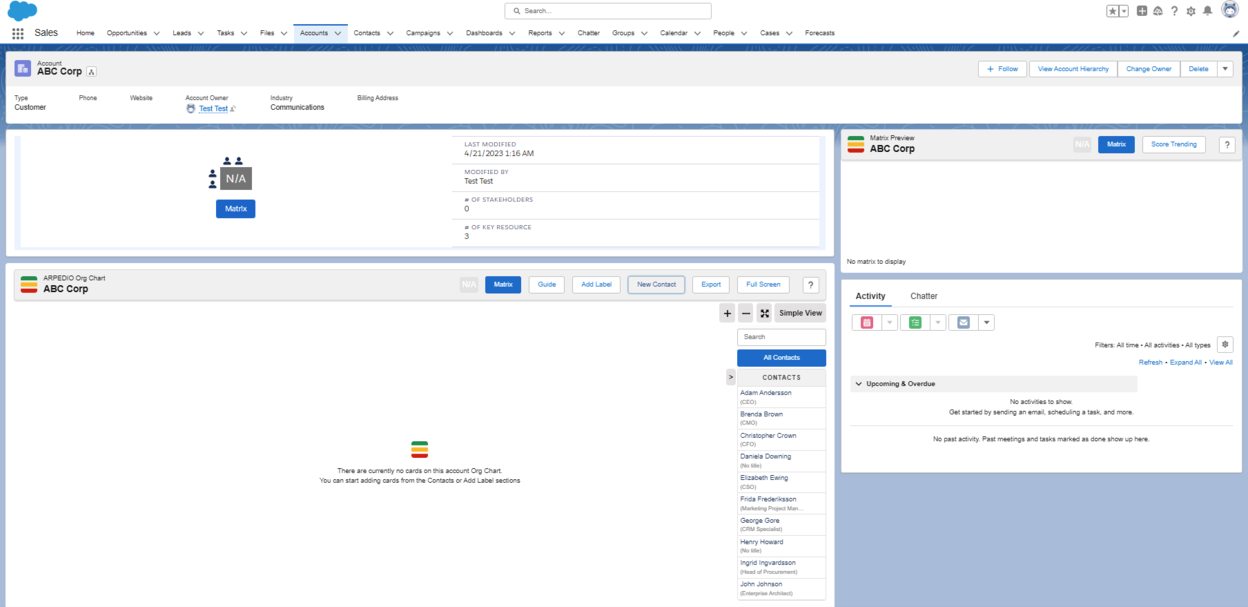
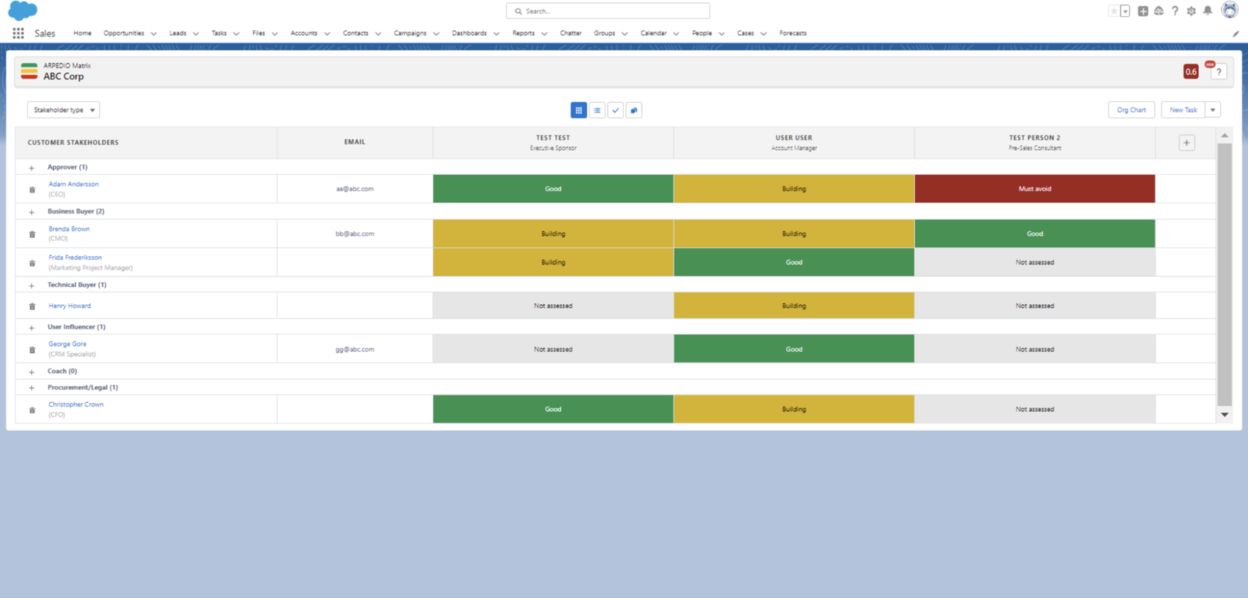
From the Org Chart, you can go directly to the Relationship Planning Tool by clicking the Matrix button. It will bring you to the relationship view, and the first step is to identify who knows whom.
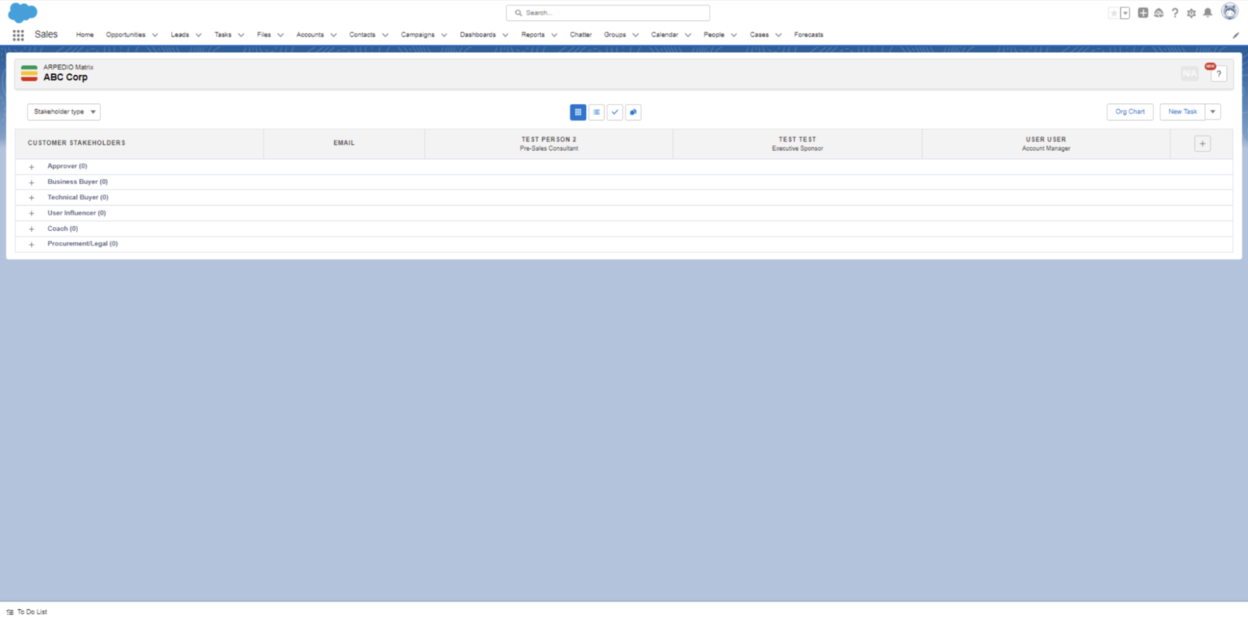
If you have set up your Salesforce Account Team, each of your Account Team Members will already appear in the columns.
You can also add your Account Team member manually by selecting the +-sign in the top header, and then searching for existing Salesforce users or creating a new user. You can rearrange the columns by dragging and dropping.
Now, begin to add your customer stakeholders. The stakeholder types are already listed, and you simply click the +-sign for each row to search and add a customer stakeholder. Note that you can select to search and add contacts from other Accounts as well by activating the ‘Search other accounts’ functionality.
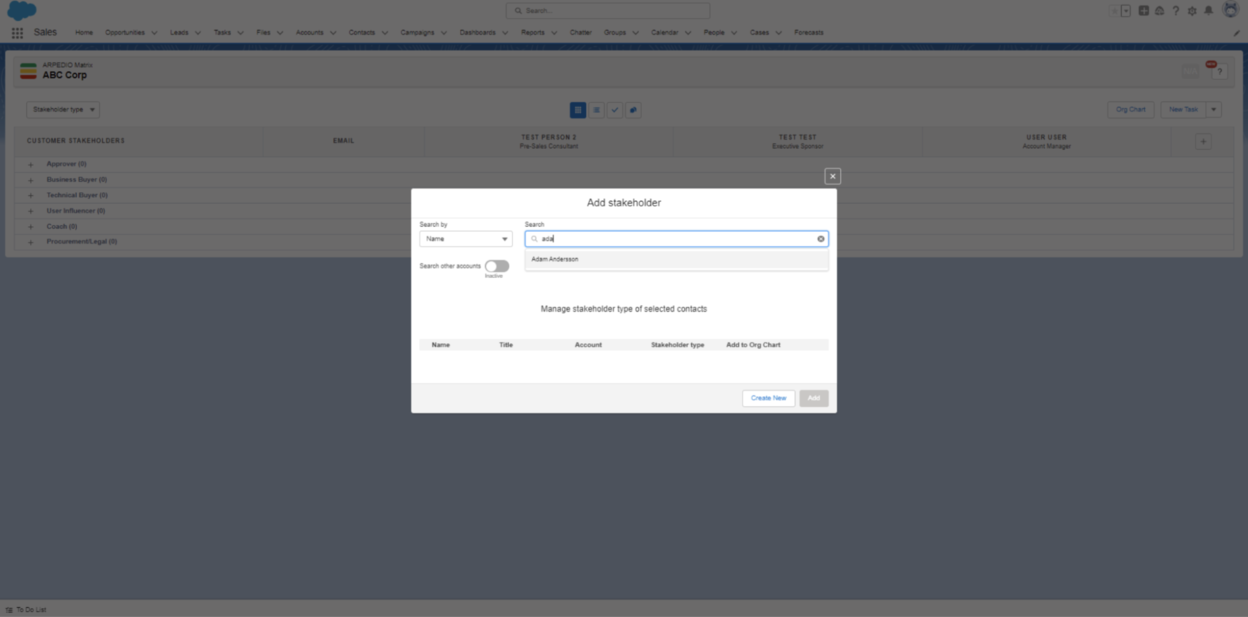
Your customer stakeholders can also be added to the Relationship Planning Tool from the Org Chart. Whenever you select a stakeholder in the right-hand column, you can add the stakeholder to the relationship matrix.
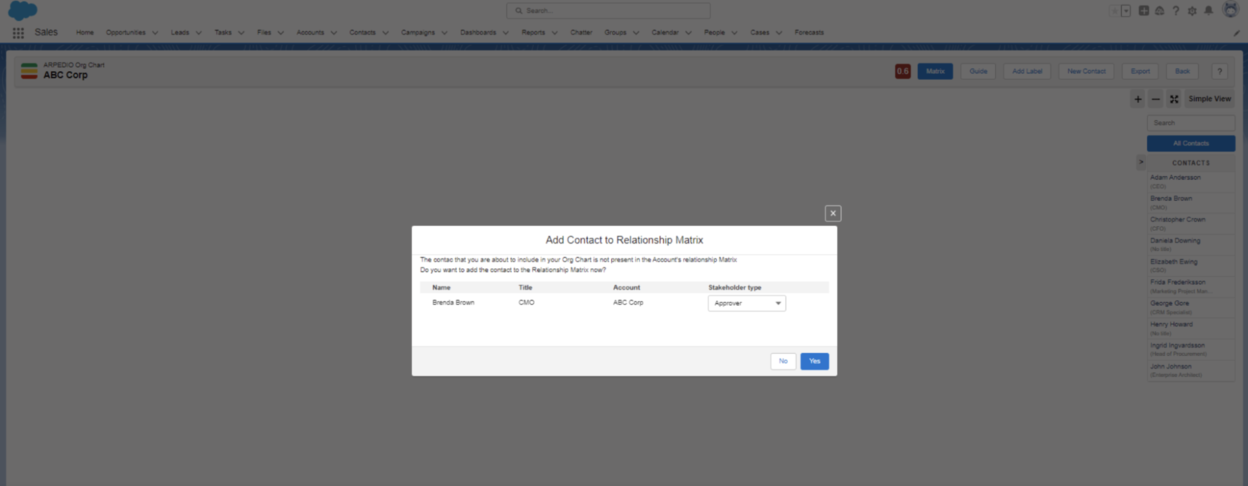
Using the ARPEDIO relationship tool for new and existing Relationship Plans
When you have added your customer stakeholders to the Relationship Planning Tool, you can start to assess the relationships.
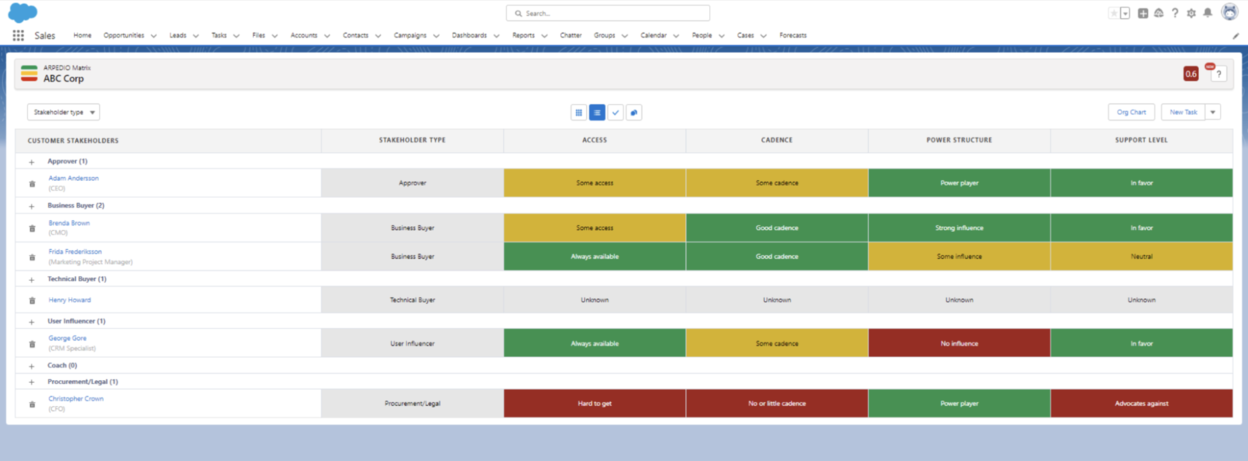
Next, select the next tab to go to the Details view. This view helps you to further analyze your customer stakeholders.
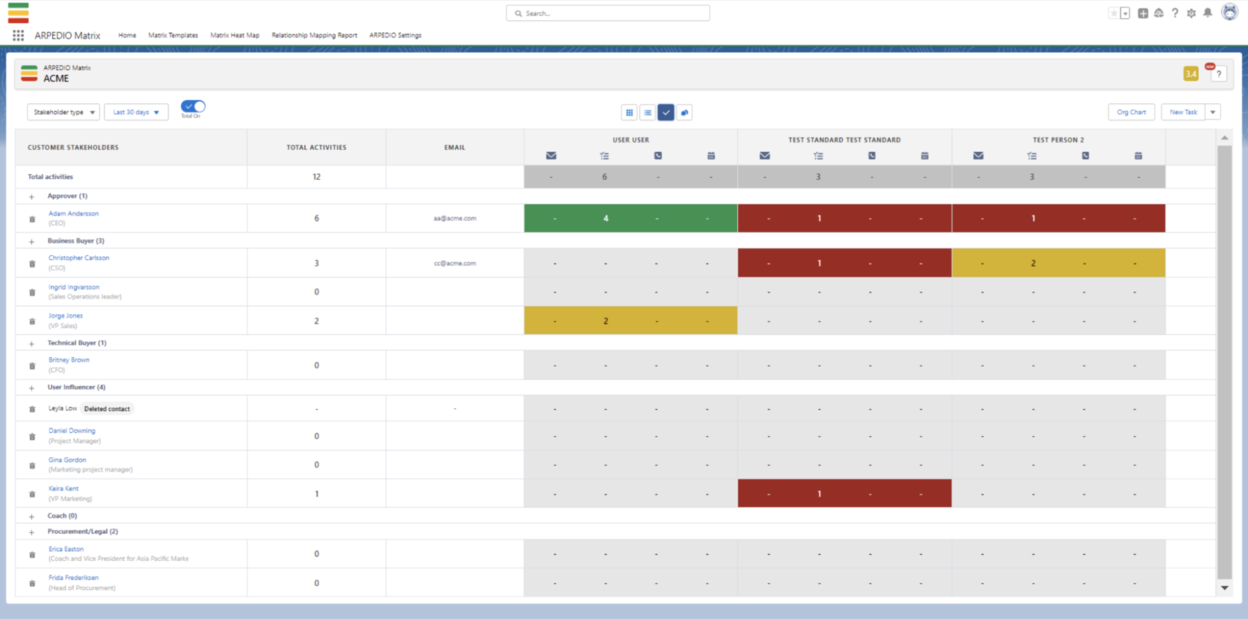
The third tab in the tool introduces the Activity view that tracks and displays your Salesforce tasks and events for each of your customer stakeholders. You can use the filter to select a timeline, and the toggle button enables you to either display or hide total columns and rows.
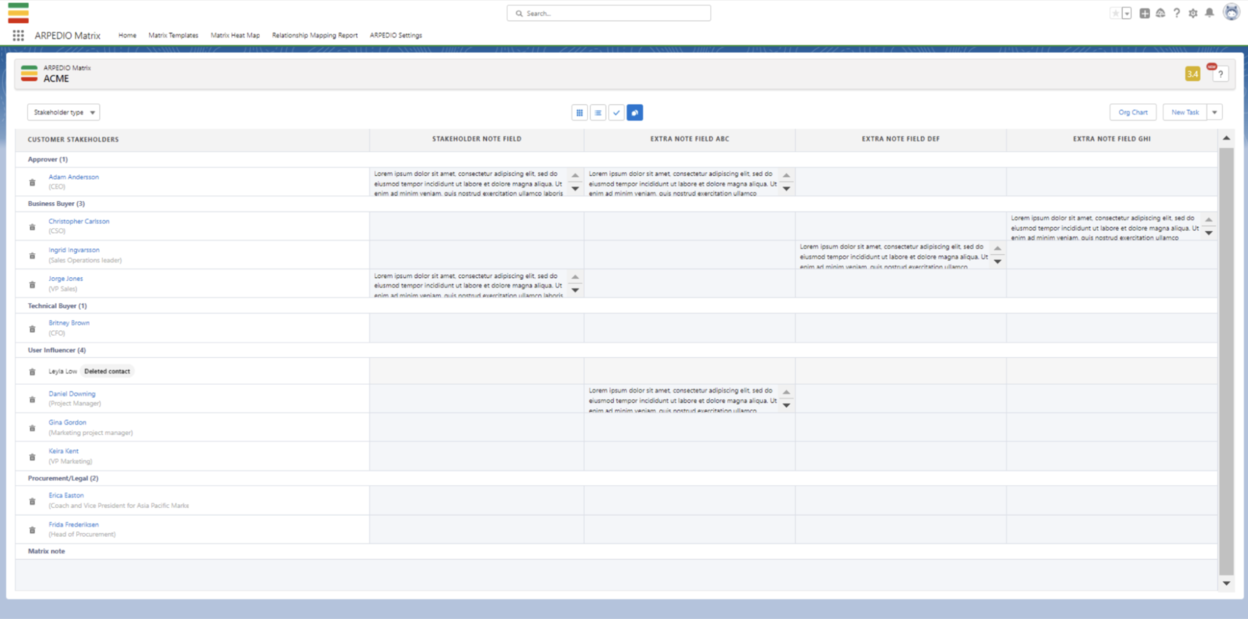
The last tab in the Relationship Planning tool is for you to create and view your customer stakeholder notes.